
Last updated October 8, 2026
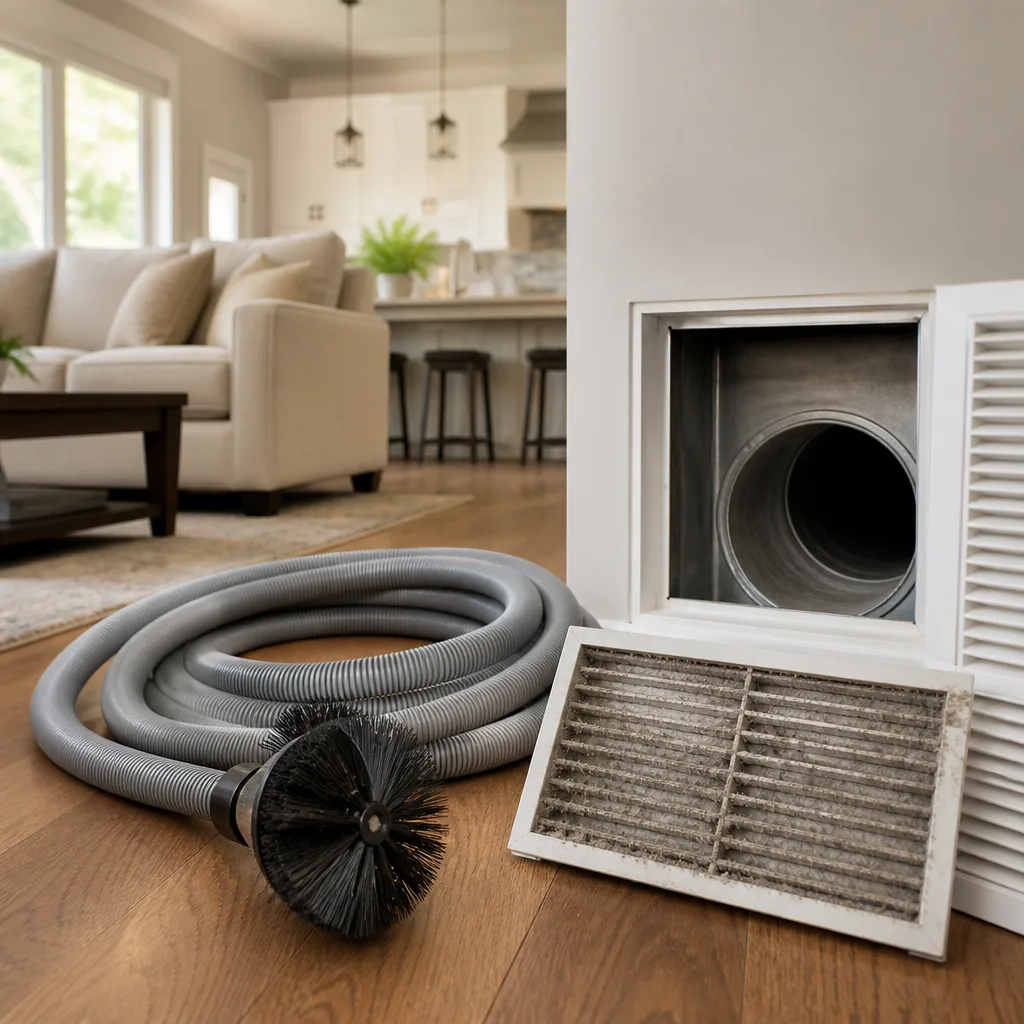
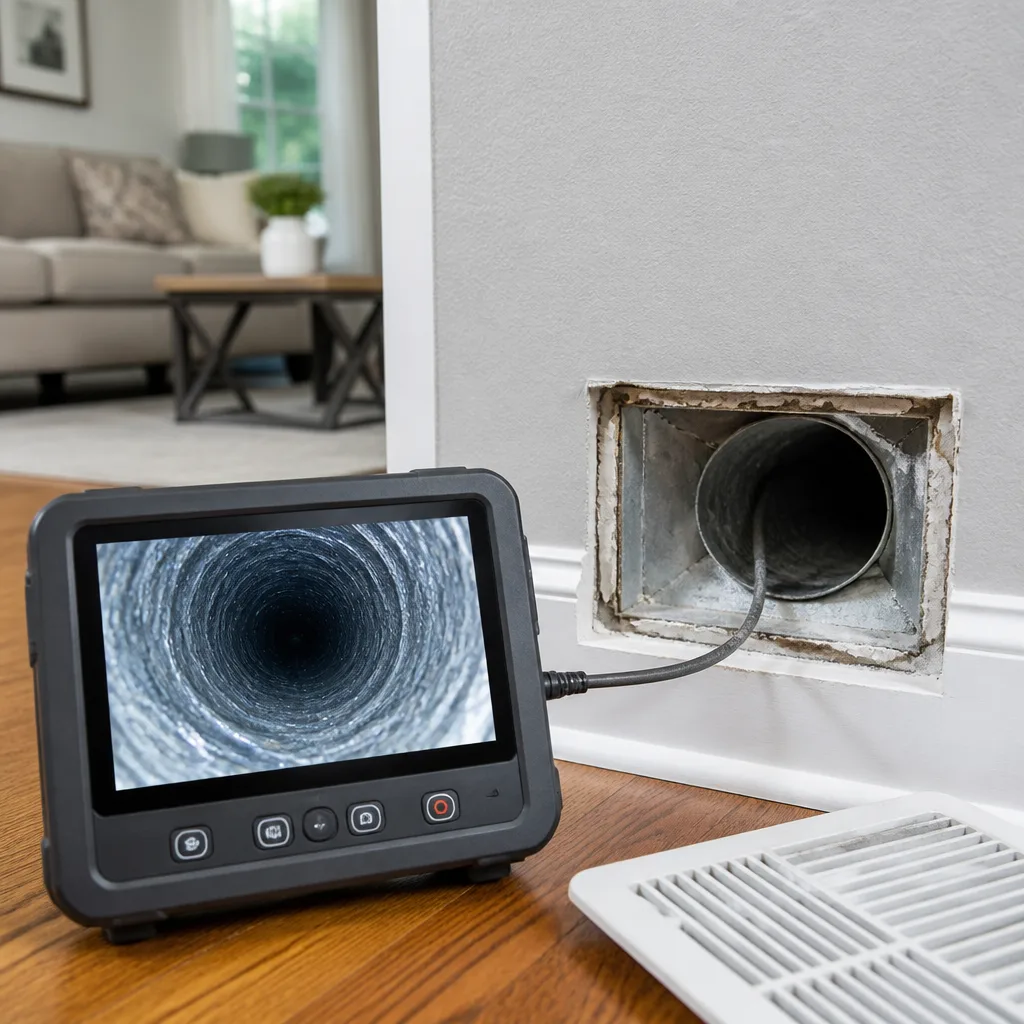
Whole-system duct and dryer vent check with before-and-after photos - you see exactly what came out of your vents
That "$99 whole-house special" is a bait ad - the real number appears once they are in your hallway, or the "clean" is a shop-vac at the register. We photograph the inside of your ducts before and after instead.
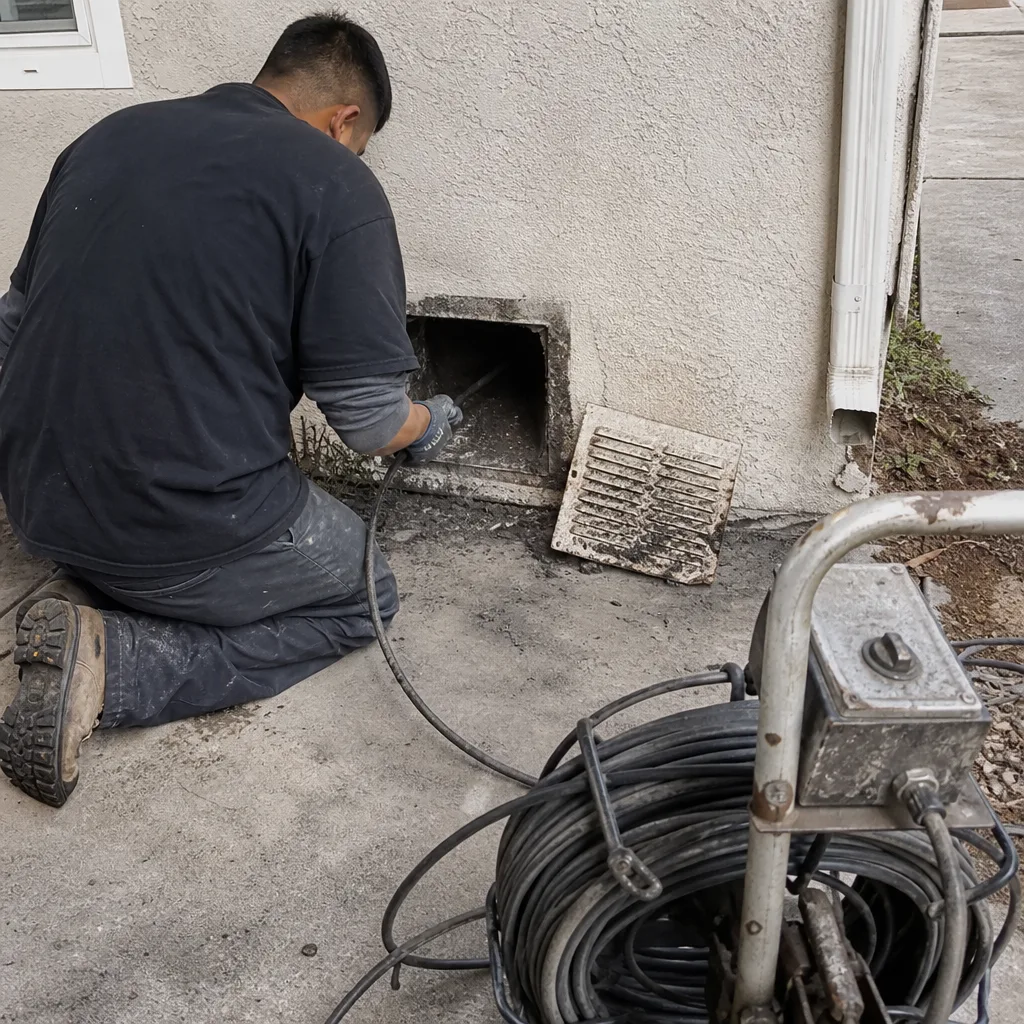 Before
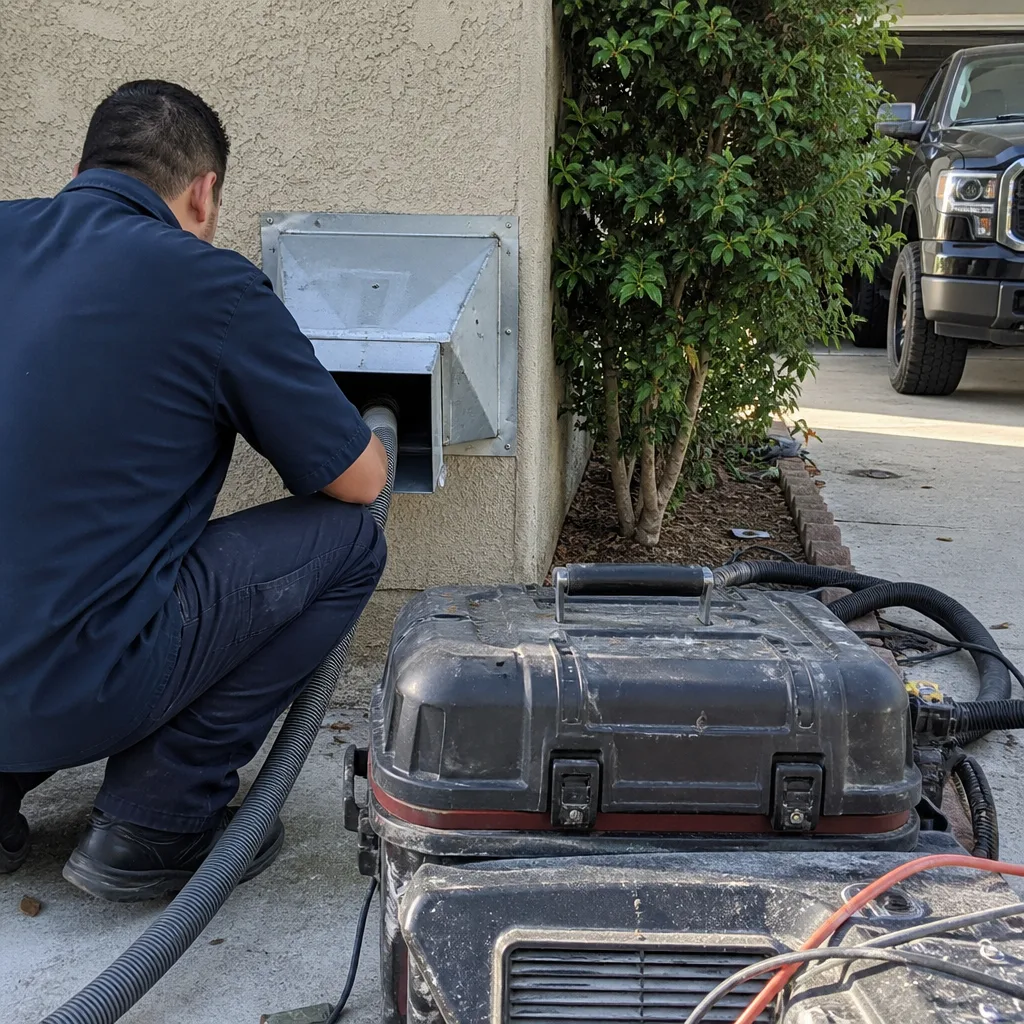 After
After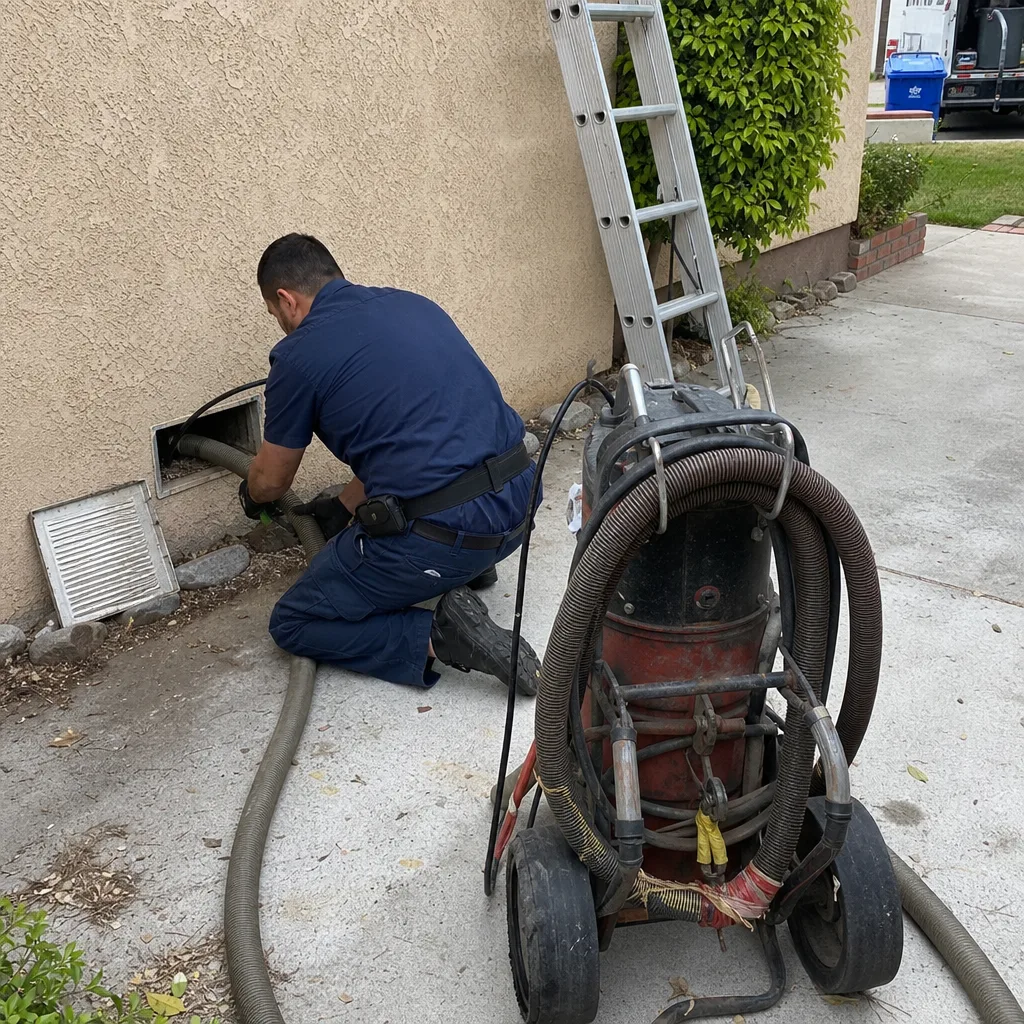 Before
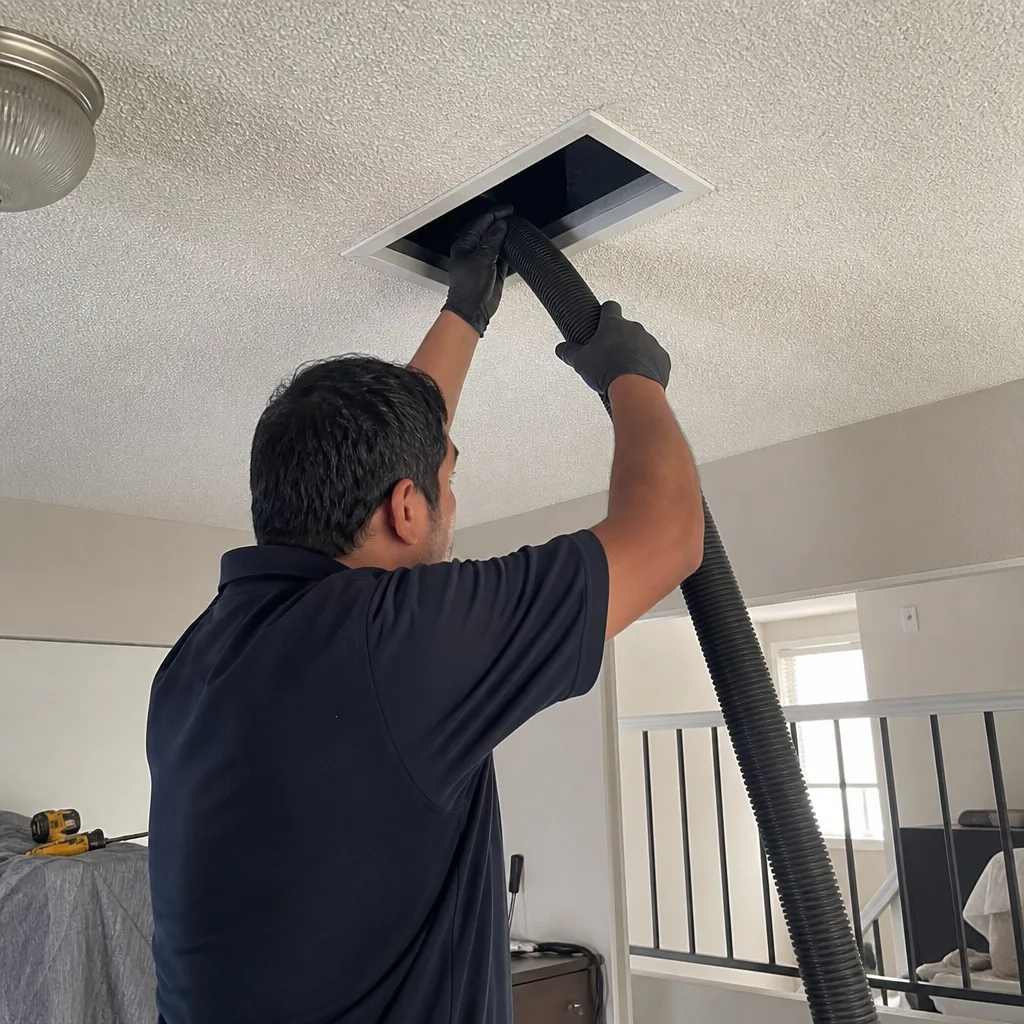 After
After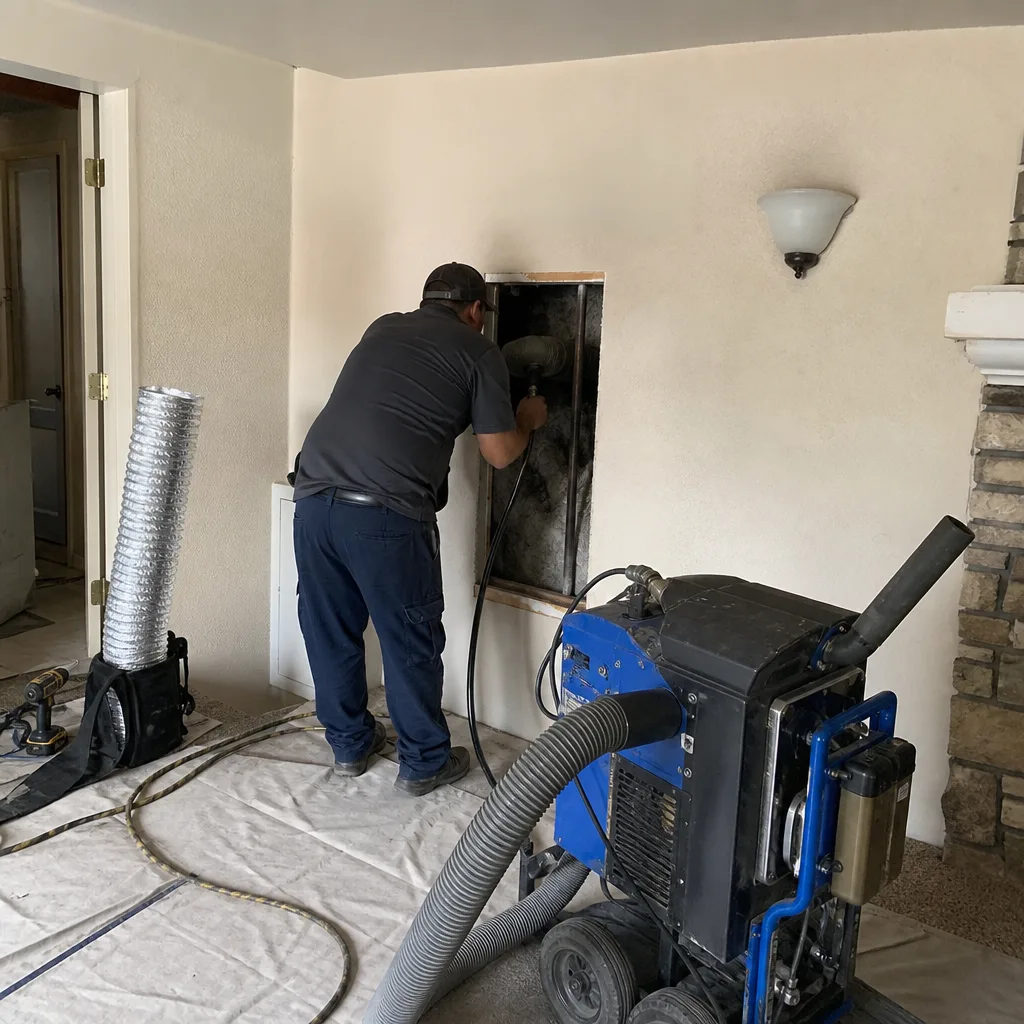 Before
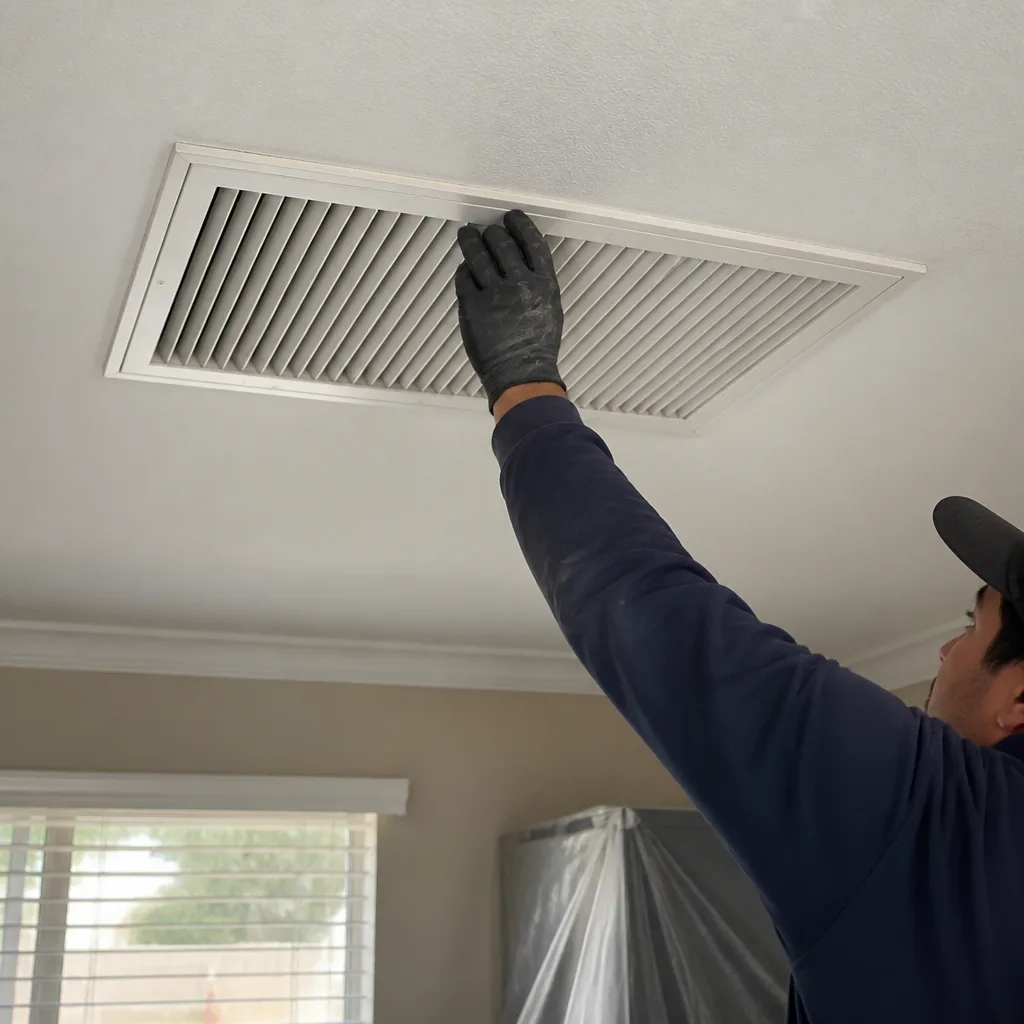 After
AfterDIY vs Professional Dryer Vent Cleaning: What’s Safe to Do Yourself
A $25 dryer vent brush kit from any hardware store in Los Angeles will genuinely clean a short, straight dryer vent. The same kit, used on a vent with two or more bends, will leave you convinced the job is done while lint sits compacted against the outer curve of every elbow. This guide explains exactly where that line falls, how to measure your vent in about ten minutes, and why the difference between a clean vent and a false sense of completion comes down to geometry, not effort.
Quick Answer
DIY dryer vent cleaning is safe and effective only on vent runs that are short (roughly 15 feet of equivalent length or less) and nearly straight (one 90-degree bend or fewer). On longer, multi-elbow, roof-exit, or shared-wall vent runs, DIY brush cleaning often compacts lint rather than removing it, and Dryer Vent Cleaning services with professional equipment are the responsible choice.
Table of Contents
- The Geometry Rule: Measuring Your Vent in 10 Minutes
- Why Bends Defeat Brush Kits: The Lint Compaction Problem
- DIY Done Right: Technique for Short, Straight Runs
- What Professionals Bring: Rotary Power and Reverse Airflow
- Non-Negotiable Professional Scenarios
- Los Angeles-Specific Considerations
- Common Mistakes to Avoid
- When to Call a Professional
- Frequently Asked Questions
- The Bottom Line
The Geometry Rule: Measuring Your Vent in 10 Minutes
Every dryer vent, whether it runs through a laundry room in Westwood or a garage in the Valley, has two measurable properties that determine whether a DIY brush kit will work. The first is equivalent length, which is the actual distance from the dryer connection to the exterior cap plus an added allowance for every bend. The second is bend count, which matters more than most people realize.
Here is how to measure yours in about ten minutes, no special tools required:
- Find both ends. Locate where the vent connects to your dryer and where it exits the building. In most Los Angeles homes the vent either exits through an exterior wall behind the dryer or climbs through the roof.
- Measure the straight-line distance. Use a tape measure along the path the vent travels. If the vent runs through a wall or ceiling you cannot see, estimate using the distance from the dryer hookup to the exterior exit point.
- Count the bends. Every 90-degree elbow adds 5 feet of equivalent length. Every 45-degree elbow adds 2.5 feet. Write down your total.
- Calculate equivalent length. Add the straight-line distance to the bend allowances. A 10-foot straight run with two 90-degree elbows has an equivalent length of 20 feet.
- Apply the rule. Under 15 feet equivalent with one bend or fewer: DIY brush cleaning is genuinely effective. Over 15 feet equivalent or two or more bends: professional equipment is required to actually remove the lint.
In our experience across Los Angeles, we regularly see homes where the vent looks like a 6-foot job from the dryer’s perspective but turns out to be a 24-foot equivalent run once every elbow is counted. The vent that exits through a roof on a two-story home in Silver Lake can have the equivalent length of a much longer wall-exit vent in a single-story Encino ranch house.
Why Bends Defeat Brush Kits: The Lint Compaction Problem
A dryer vent brush kit works by pushing a flexible rod with a brush head through the vent from one end to the other. On a straight pipe, that brush scrapes the walls and pulls lint out behind it. On a bend, something different happens.
When the brush reaches a 90-degree elbow, it rounds the corner and loses contact with the outer wall of the bend. The brush continues forward, but the lint that was resting on that outer curve stays put. Each subsequent pass pushes more lint into that same curve until it becomes a dense plug that restricts airflow while still allowing enough movement that the dryer appears to work.
In Los Angeles, where laundry equipment often sits in tight utility closets rather than spacious laundry rooms, vent runs are frequently packed with extra elbows. We have opened walls in homes across the city and found lint compacted so firmly at the outer radius of an elbow that it had to be chiseled out. The homeowner had used a brush kit diligently and assumed the vent was clean because the brush passed through without resistance. The brush passing through does not mean the vent is clear; it means the brush and lint found a way to coexist.
That false sense of completion is the most dangerous outcome of DIY vent cleaning because it delays the call to us or another professional while the blockage worsens. A fully blocked dryer vent is a fire risk and a dryer-killer. In a city with as many older homes as Los Angeles has, where vent paths are often retrofitted rather than original to the structure, the geometry problem shows up constantly.
DIY Done Right: Technique for Short, Straight Runs
If your vent falls under the 15-foot-equivalent, one-bend-or-fewer threshold, here is the technique that actually works:
- Unplug the dryer first. Pull the dryer away from the wall and disconnect the vent pipe from the back of the machine. Los Angeles dryers are almost always electric, but the rule holds regardless: no power, no gas, no exceptions.
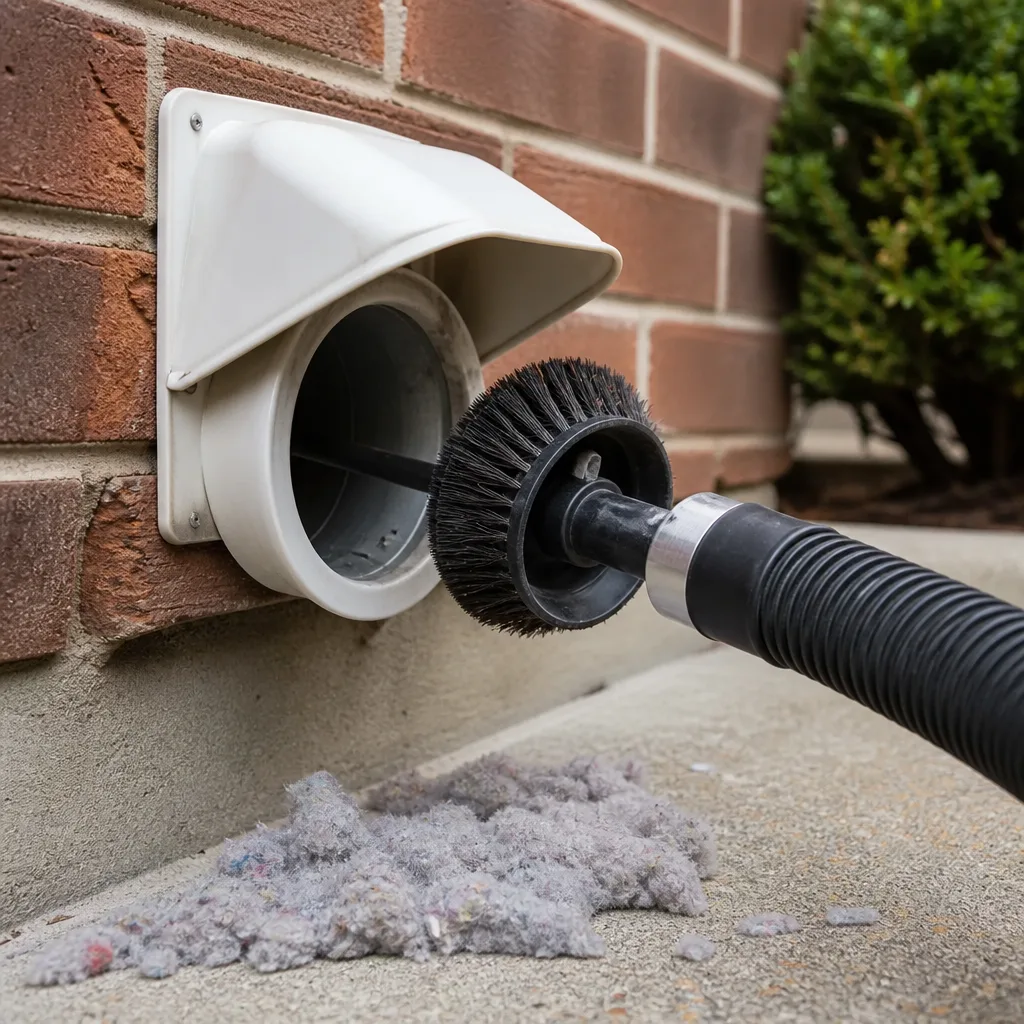
- Remove the exterior cap. Go outside and take the hood or cap off the exterior vent exit. This gives you a clear opening at the far end and lets you see what comes out.
- Brush from the exterior toward the dryer. Push the brush through the exterior opening toward the interior connection. You want the debris to exit at the dryer end, where you can see it and vacuum it easily.
- Couple a shop vacuum at the dryer end. While you work the brush from outside, have a shop vacuum at the dryer connection side pulling air forward. This captures loosened lint rather than letting it settle back into the pipe. Do not use your household vacuum; use a wet-dry shop vacuum, which can handle lint without clogging.
- Make three full passes. Push the brush through, pull it back, repeat three times. On a straight run the brush should come out with visible lint on each pass. If pass three comes out clean, you have likely done the job.
- Reattach everything and check airflow. Reconnect the vent, push the dryer back, and run the dryer empty on the air-only setting for five minutes. Go outside and feel the airflow at the cap. It should be strong and steady. If it feels weak, or if you cannot feel it at all, the vent is not clear and it is time to call us.
This method is effective on short, straight runs. It is also the only DIY scenario we recommend. The moment your vent bends twice, climbs to a roof, or disappears into a wall where you cannot see the path, the brush kit stops being the right tool. For everything else, see our Dryer Vent Cleaning Troubleshooting: Common Problems and How to Fix Them guide.
What Professionals Bring: Rotary Power and Reverse Airflow
When a vent is too long or too contorted for a manual brush, the professional approach changes the physics of the cleaning rather than just applying more effort to the same tool.
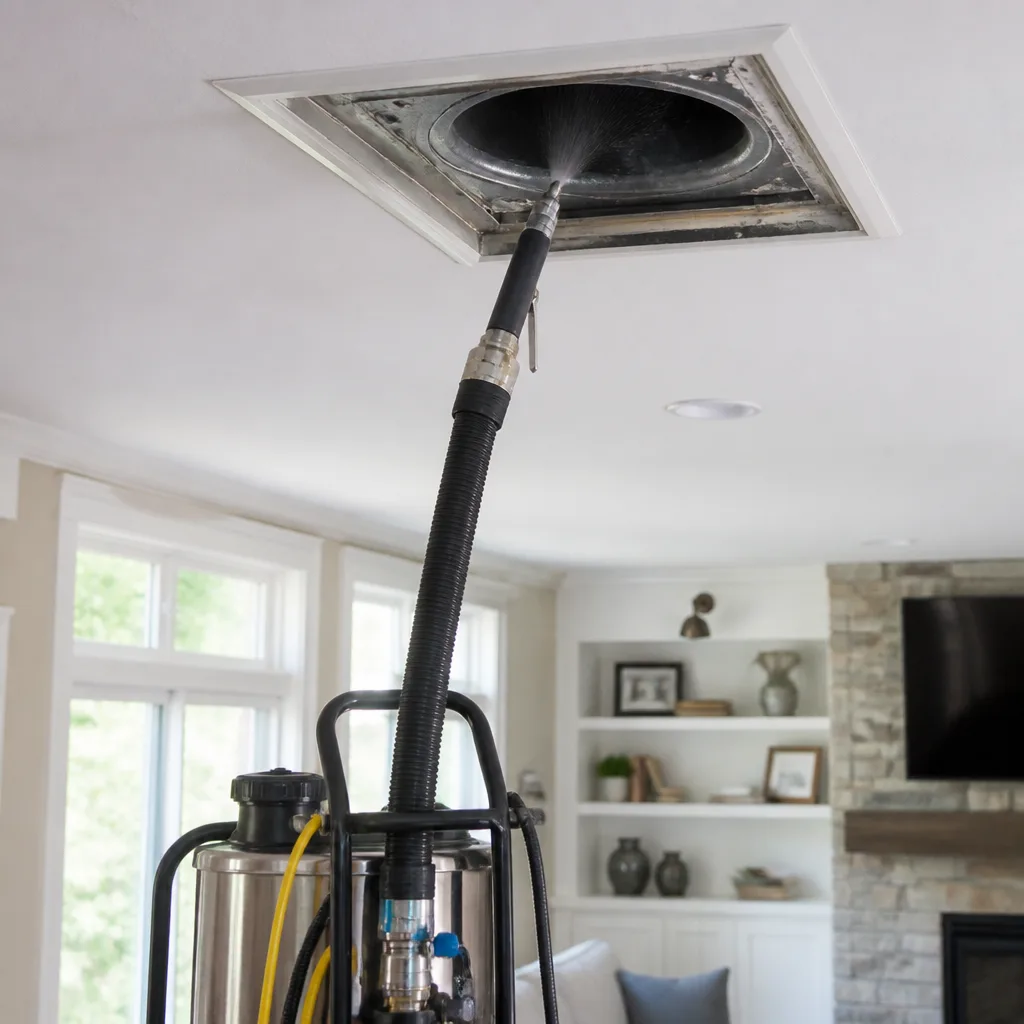
The first difference is rotary agitation. Professional systems like the Rotobrush mount a brush head onto a drill-driven flexible shaft. Instead of pushing the brush through the vent, the shaft spins it at high speed while feeding it forward. That rotation keeps the brush aggressively in contact with the interior wall even as it rounds a bend, because the centrifugal force of the spinning brush presses it against the pipe surface the entire way through. Lint that would compact under a manual push gets scrubbed out instead.
The second difference is negative-pressure extraction. Where a DIY job pushes lint forward through the vent and hopes it exits the far end, professional equipment connects a vacuum source at one end while the brush works from the other. Nikro negative-air machines pull a strong draft through the vent during agitation, so loosened debris is extracted immediately rather than redistributed. This is the same principle behind negative-air extraction in any confined-space cleaning, and it means the lint ends up in a collection bag, not in the living space.
The third difference is filtration. When we run our equipment in a Los Angeles laundry room, we connect Abatement Technologies HEPA filtration to capture the fine particulate that agitation kicks up. Homeowners sweeping a brush through a vent into a utility room inhale that dust. Our technicians do not, and neither does your family, because the air leaving the vent is filtered before it reaches the room.
For context, this is the same category of equipment used in hospital and cleanroom maintenance. It is rented, not sold, which is one reason no homeowner should feel any pressure to buy it. You should simply know what the professional standard looks like so you can judge whether a company is actually delivering it.
Non-Negotiable Professional Scenarios
There are three vent configurations where DIY cleaning is not a matter of effort or technique. It is a matter of avoiding property damage and personal risk.
Roof-exit vents. Any dryer vent that terminates through the roof requires working at height, and in Los Angeles the pitch on many 1920s and 1930s homes makes roof access genuinely hazardous. Beyond the fall risk, roof-exit vents gather debris at the cap that requires specialized tools to reach. This is a professional-only scenario, full stop.
Multi-unit buildings. Any vent that runs inside a shared wall in a Los Angeles apartment building, condo, or townhouse is part of a system you cannot fully see. Probing a brush into a shared-wall vent can disconnect a joint inside the wall cavity, which then vents moist dryer air into the wall and creates a hidden mold problem. In a building where your vent is someone else’s wall, professional equipment and a careful hand are required.
Partially unknown vent paths. If you cannot trace your vent from dryer to exit with confidence, do not brush it blind. We have seen vents in Los Angeles homes make turns inside ceilings and floors that no homeowner could have predicted. Pushing a brush around an unknown turn risks disconnecting joints that are inaccessible without opening drywall.
Los Angeles-Specific Considerations
Los Angeles changes the dryer vent calculus in ways that rarely appear in generic online guides. The climate, the housing stock, and the way people live here all push the risk profile in a specific direction.
First, the Santa Ana winds are a real factor. Between September and January, dry air with single-digit humidity moves through the region. Lint that would be merely an annoyance in a humid climate becomes extremely flammable when it sits in a vent for months under Santa Ana conditions. A clogged vent in Los Angeles during Santa Ana season is a different animal than the same vent in a coastal Oregon winter.
Second, Los Angeles housing stock includes a huge number of pre-1950 homes with laundry hookups that were added decades after the house was built. Those retrofit vents are often routed through awkward spaces with extra bends, and many of them are longer than they look. The equivalent-length calculation matters here more than in newer construction.
Third, the prevalence of apartment and condo living in Los Angeles means a large share of the city’s dryers vent through shared walls. Those systems fall into the professional-only category we described earlier, and they are very common in the city’s denser neighborhoods.
If you are in a single-family home in Los Angeles with a short exterior wall vent, the DIY method described here will serve you well. If your situation is anything other than that, this is the moment to call a professional. Dryer vent cleaning in Los Angeles is a service we offer with written pricing before work begins and a 365-Day Done Right Promise in writing on every job.
Common Mistakes to Avoid
- Assuming the brush kit worked because the brush passed through. A manual brush will pass through a vent that is still 70% clogged. The brush finding a path is not the same as the vent being clean.
- Using a leaf blower instead of a brush. Blowing high-pressure air into a vent can separate joints inside walls, especially in older Los Angeles homes with aging duct connections. When that joint separates, the vent now exhausts into your wall cavity.
- Cleaning from the dryer end and pushing debris toward the cap. This leaves compacted lint at the exterior opening. Work from the exterior toward the dryer so debris exits where you can see and capture it.
- Skipping the exterior cap check. The cap itself is a lint trap. If you clean the vent but leave a caked-up cap, the restriction remains and your dryer still works harder than it should.
- Venting a dryer indoors, especially in a Los Angeles apartment. Indoor vent kits recirculate moist, lint-laden air into the living space. They are not a substitute for a real exterior vent, and in multi-unit housing they can violate fire code.
- Deciding based on confidence instead of geometry. The DIY-or-pro decision is determined by equivalent length and bend count, not by how capable you feel with a drill. Measure the vent before you decide.
When to Call a Professional
Call a professional if your vent is longer than 15 feet equivalent, has two or more 90-degree bends, exits through a roof, runs through a shared wall, or has a path you cannot fully trace. Also call if you have already cleaned the vent yourself and the airflow still feels weak, because that is a sign of compaction at a bend or a disconnected joint you cannot see.
Kestrel Air Duct Cleaning offers free estimates in Los Angeles. Call (469) 972-3151 and you will get a real person on the line, any time of day, not a voicemail queue. We give you a written price before any work begins, and every job carries the 365-Day Done Right Promise in writing.
Frequently Asked Questions
Professional dryer vent cleaning in Los Angeles typically runs between $120 and $250 for a standard single-family home with an accessible vent. The price varies based on vent length, bend count, roof access, and whether the system has been cleaned recently. We give you the exact price in writing before any work begins, so there is no variance between the estimate and the invoice. Call (469) 972-3151 for a free estimate on your specific vent.
Most homes should clean their dryer vent once a year, and households with heavy laundry use or a long vent run should do it twice a year. In Los Angeles, where dryer vents in older homes are often longer than they appear, annual cleaning is the minimum. If you dry more than four loads a week, or if your vent runs more than 15 feet, move to every six months. See our Dryer Vent Cleaning Maintenance Schedule: What to Do and When for a full timeline.
Clothes taking longer than one cycle to dry, a dryer that feels unusually hot to the touch, a burning smell while the dryer runs, and weak airflow at the exterior vent cap are all signs of a restricted vent. If you notice any of these, stop using the dryer and clean or inspect the vent before running it again.
No. A leaf blower forces air into the vent at high pressure, which can separate duct joints inside walls and turn a clogged vent into a hidden leak into the wall cavity. Brush cleaning or professional negative-pressure extraction are the only safe methods.
Yes. Dryer lint is highly combustible, and the National Fire Protection Association identifies dryers as a leading cause of home fires. In Los Angeles, where seasonal Santa Ana winds create exceptionally dry conditions, the risk increases further because the air inside the home is already dry and the lint reaches a lower moisture equilibrium.
Yes, if the vent runs through a shared wall, which is common in Los Angeles multi-unit buildings. A brush pushed into a shared-wall vent can disconnect joints that are inaccessible without opening walls. Landlords and property managers should use a professional service for any shared-wall vent system.
The Bottom Line
The DIY-versus-professional decision for dryer vent cleaning comes down to geometry. A short, straight vent run in a Los Angeles home is a legitimate DIY job that a $25 brush kit can handle well. Anything longer than 15 feet equivalent, anything with two or more bends, anything that exits through a roof, and anything that runs through a shared wall belongs in professional hands. Measure your vent before you decide, use proper technique if you do it yourself, and when the vent calls for professional equipment, hire someone who puts the price in writing before the work starts. For more guides & resources, visit our blog.
Written by Dale Whitmore, Owner at Kestrel Air Duct Cleaning, serving Los Angeles since 2004.