
Last updated October 8, 2026
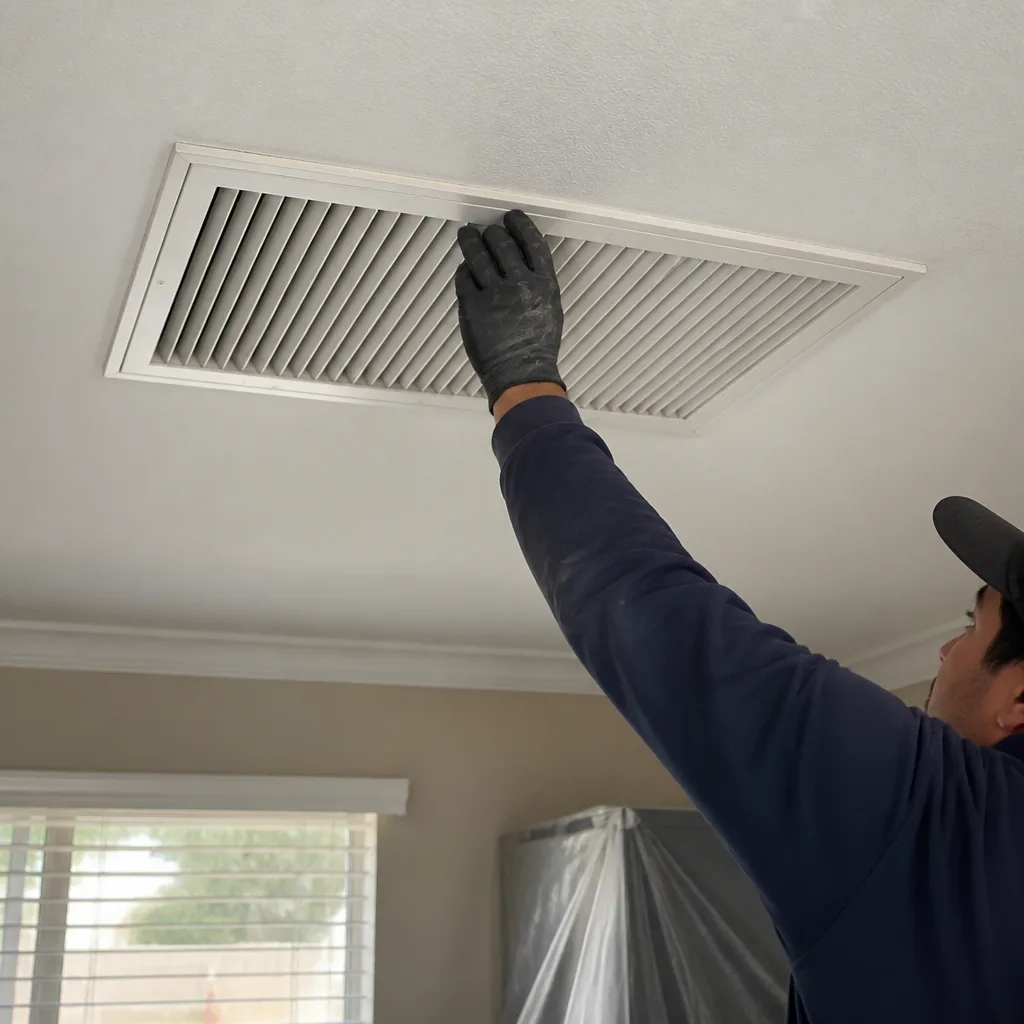
Whole-system duct and dryer vent check with before-and-after photos - you see exactly what came out of your vents
That "$99 whole-house special" is a bait ad - the real number appears once they are in your hallway, or the "clean" is a shop-vac at the register. We photograph the inside of your ducts before and after instead.
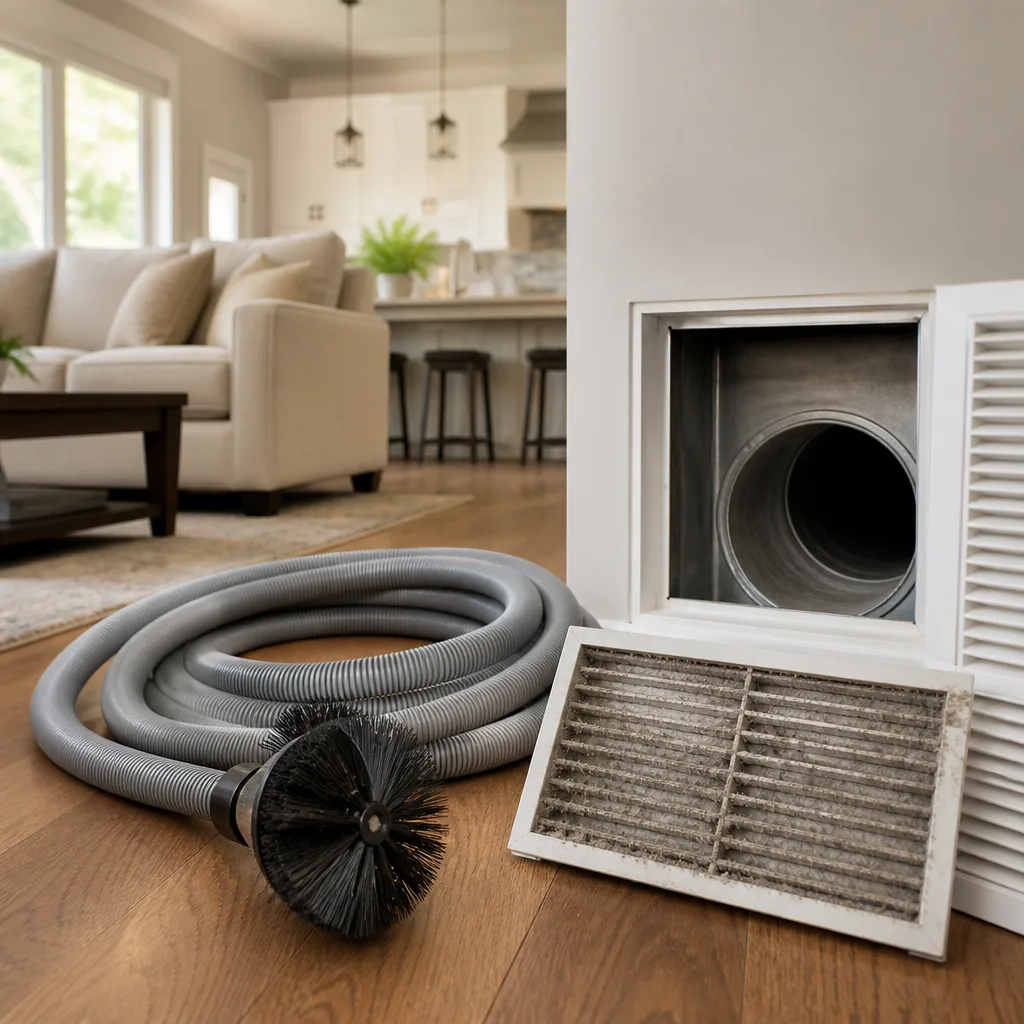
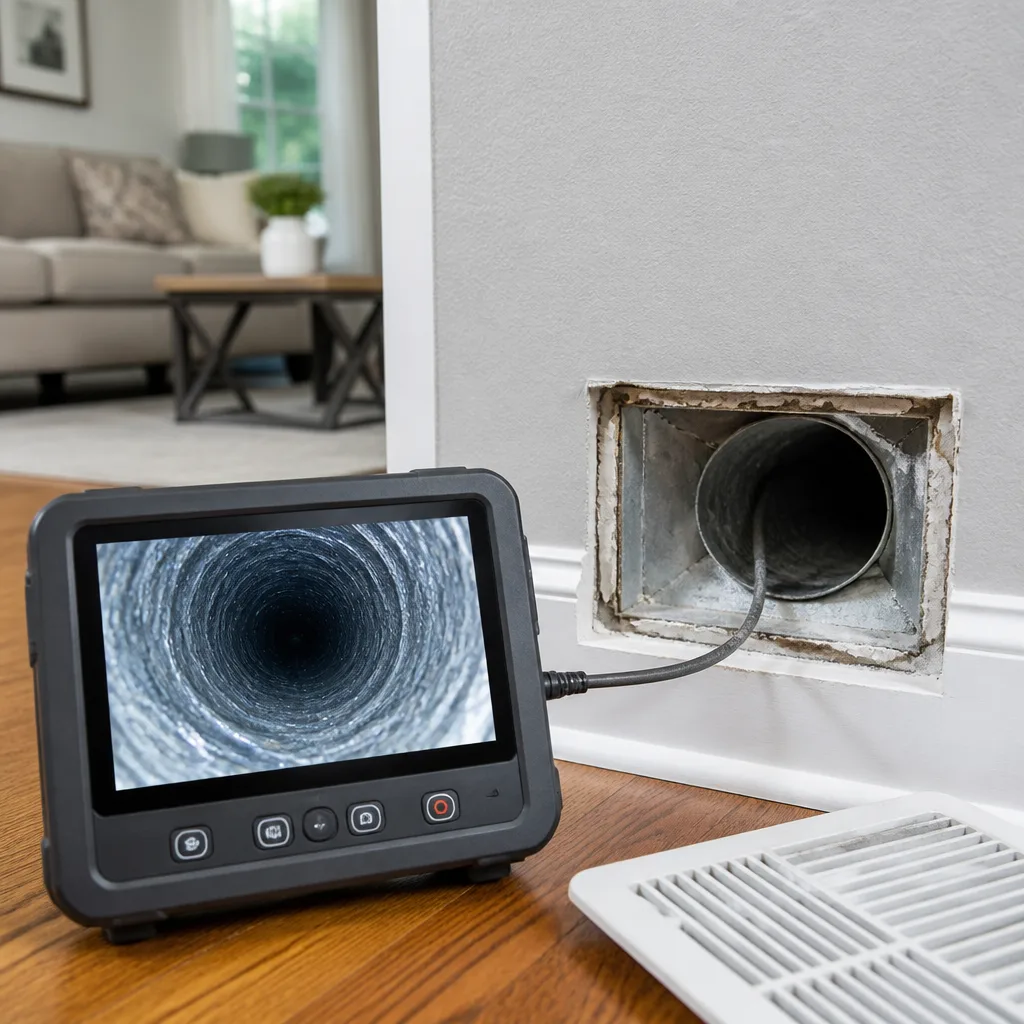
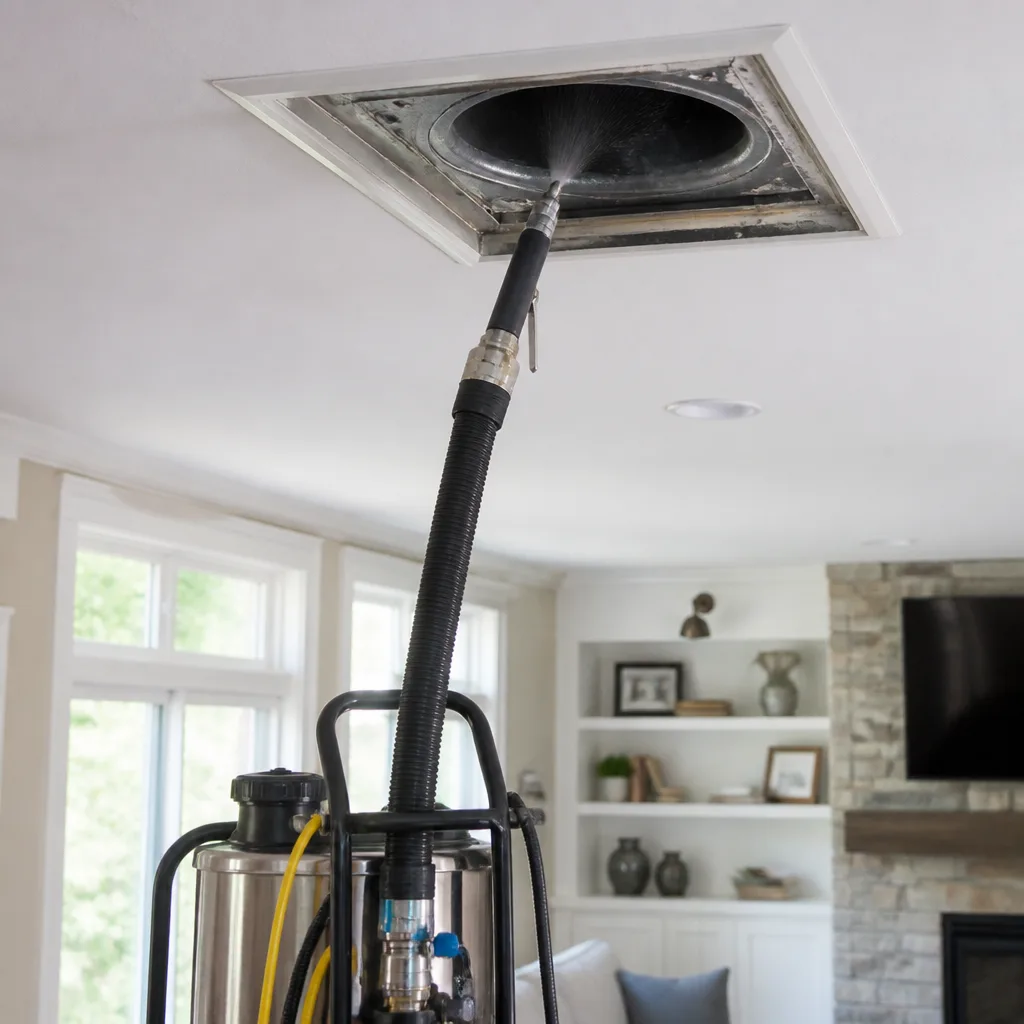
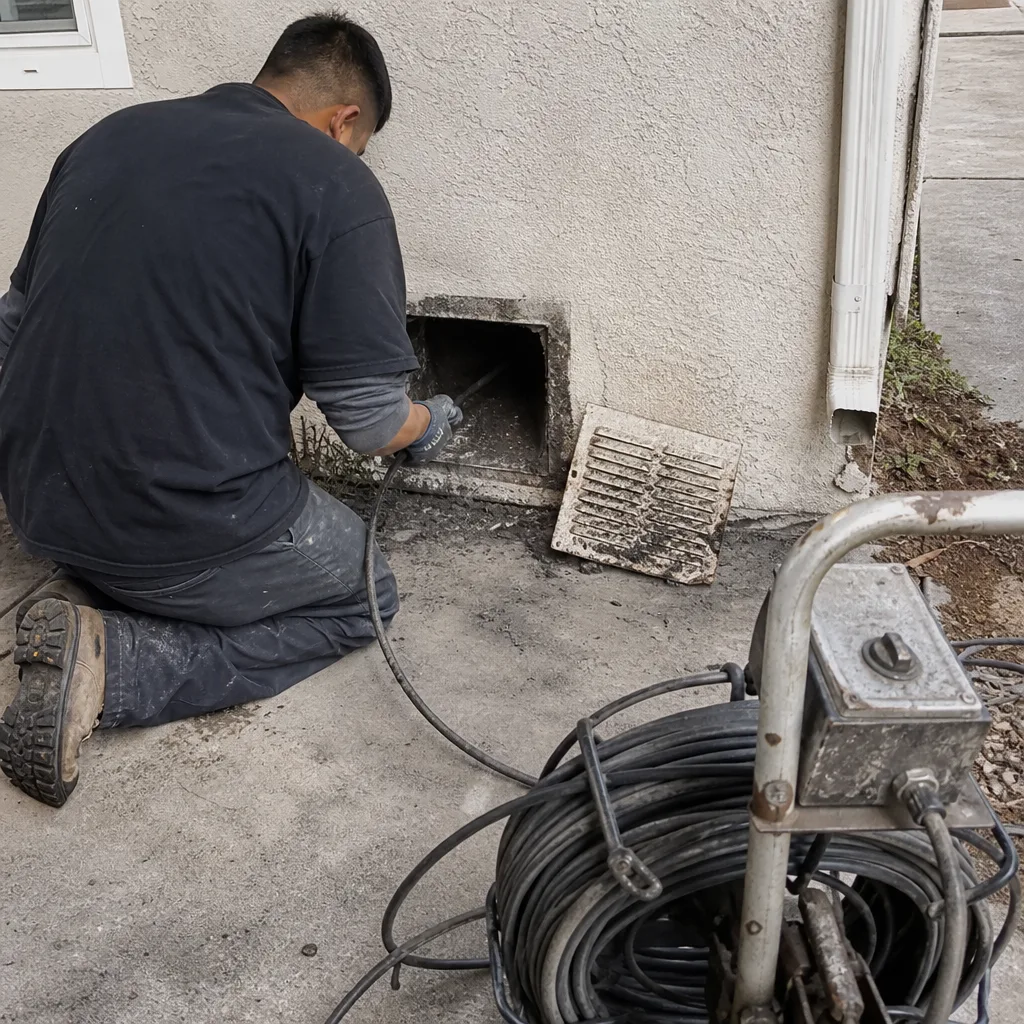 Before
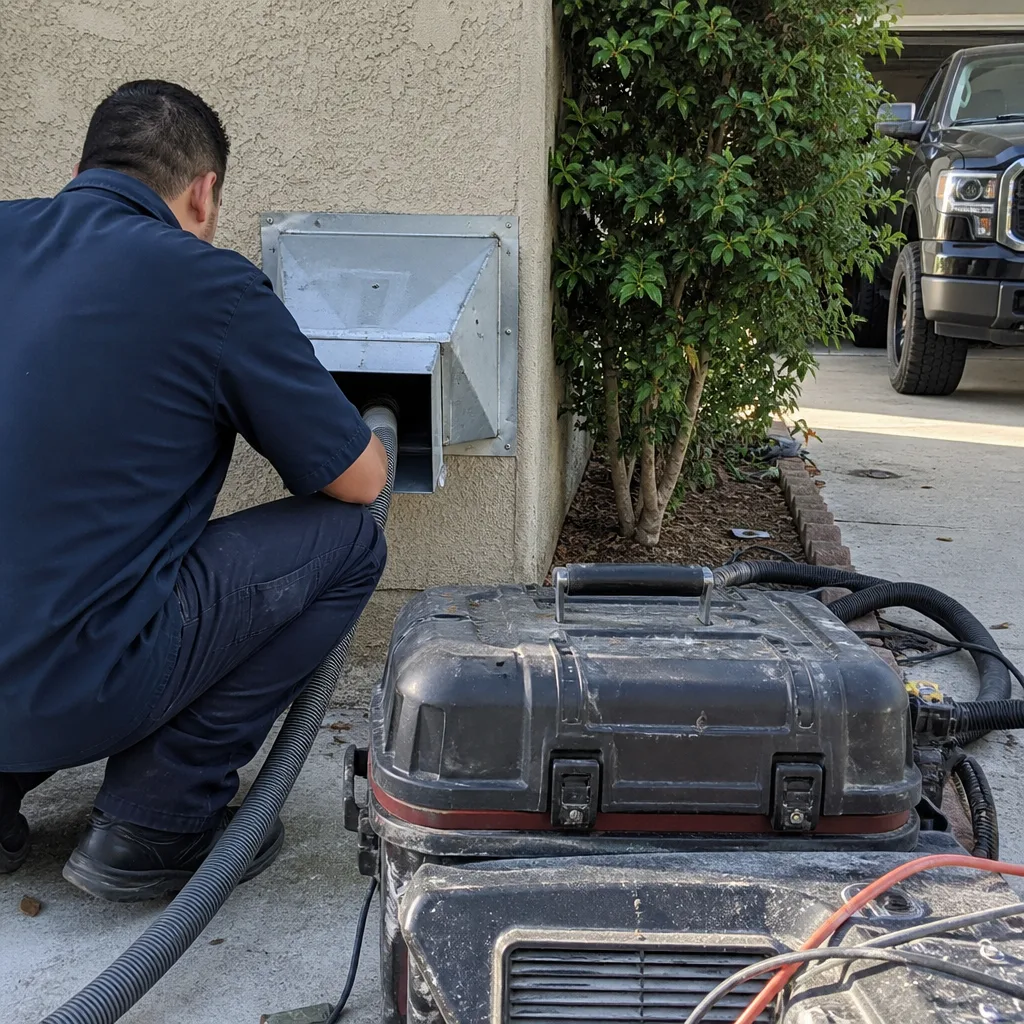 After
After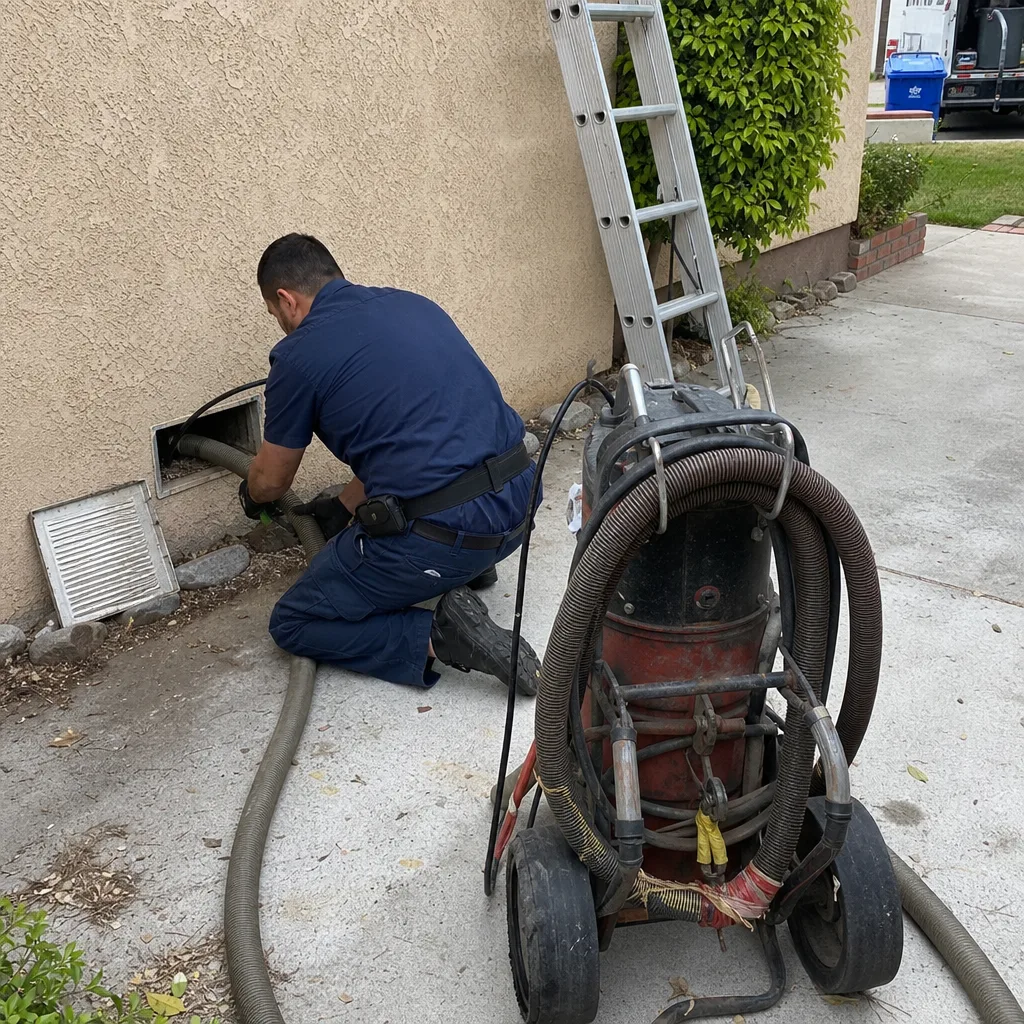 Before
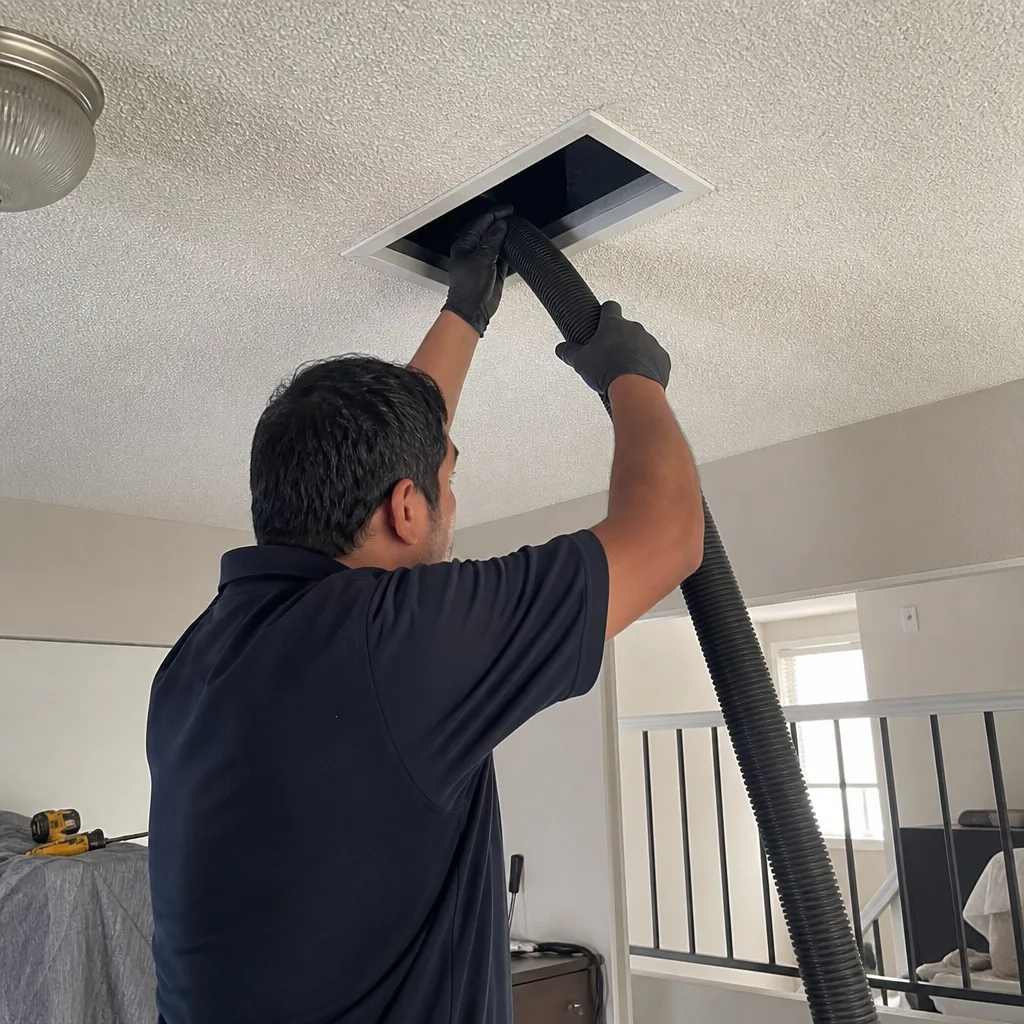 After
After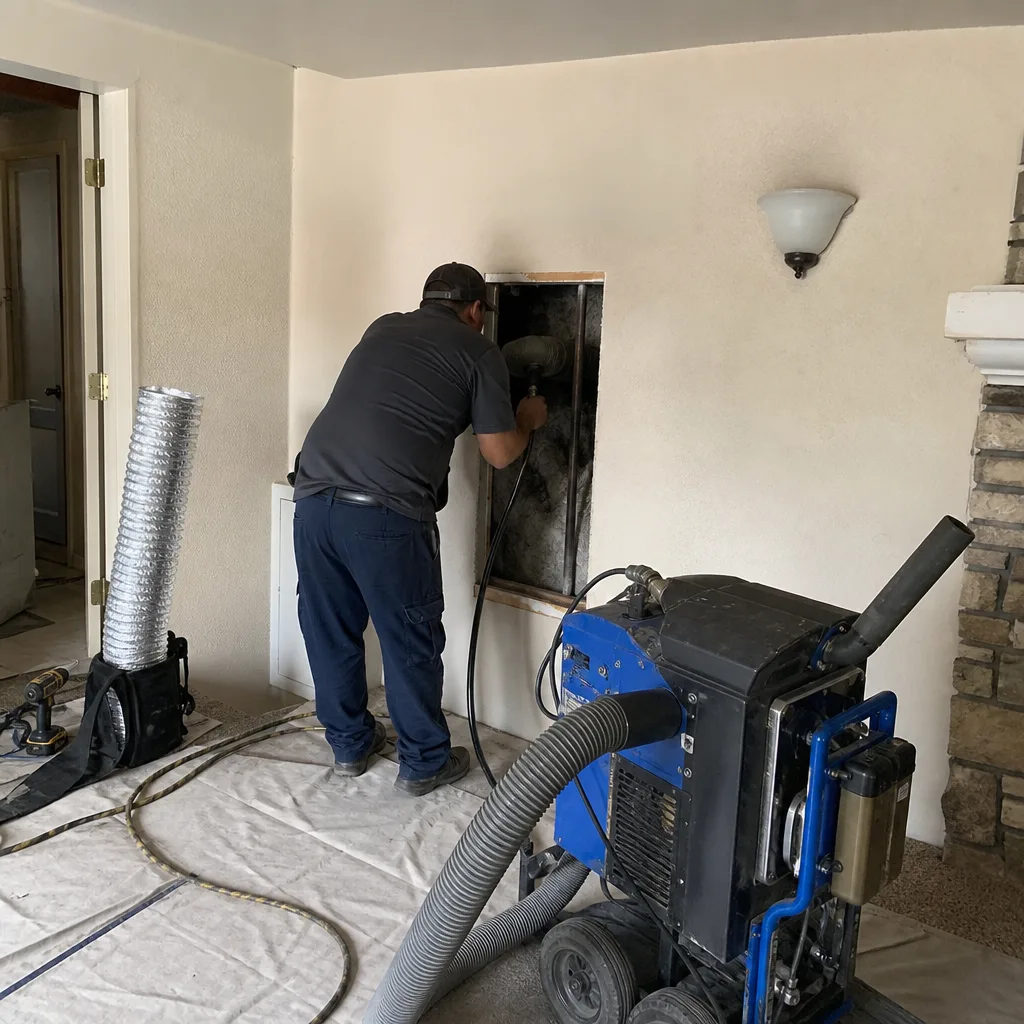 Before
 After
AfterDryer Vent Cleaning Troubleshooting: Common Problems and How to Fix Them
The average appliance technician charges between $85 and $150 just to walk through the door and diagnose a dryer that isn’t drying clothes. Here’s what most Los Angeles homeowners don’t know until after they’ve paid that bill: in roughly four out of ten of those calls, the technician finds a restricted vent, not a failed heating element or a blown thermal fuse. That means the homeowner just paid a diagnosis fee for something a $150 vent cleaning would have addressed before the appliance repair truck ever pulled into the driveway. This guide walks through every common dryer vent problem, how to tell whether the issue is in the vent or in the dryer itself, and which fixes are actually worth your time.
Quick Answer
Most dryer problems that look like appliance failures, including clothes taking two cycles to dry, the dryer shutting off mid-cycle, and a hot laundry room, are caused by a restricted or blocked dryer vent. The fix is usually Dryer Vent Cleaning that removes the lint, debris, or obstruction inside the duct run. Before paying for an appliance repair call, run the four home tests in this guide to see if your vent is the real problem.
Table of Contents
- The Symptom Decision Tree: Vent Restriction vs. Appliance Failure
- Musty Clothes vs. Burned Smell: Two Completely Different Problems
- The Back Pressure Test: Checking Airflow Without Tools
- Finding and Assessing Your Exterior Vent Cap
- What a Vent Cleaning Cannot Fix
- Los Angeles Specifics: Climate, Code, and Common Issues
- Common Mistakes to Avoid
- When to Call a Professional
- Frequently Asked Questions
- The Bottom Line
The Symptom Decision Tree: Vent Restriction vs. Appliance Failure
When a dryer stops drying, the natural instinct is to assume the machine is broken. But the split between vent problems and actual appliance failures is close to even, and the vent problems are almost always cheaper to fix. Here’s how to tell the difference using four tests that require no tools and take less than ten minutes combined.
The first thing to understand is how a dryer actually works. It pulls room air in, heats it, pushes that heated air through the tumbling clothes, and then exhausts the moisture-laden air out through the vent duct to the exterior of your home. Every element of that system depends on airflow. When the vent is restricted, the entire system backs up, and the symptoms can mimic almost any appliance failure you can name.
The Four Home Tests
- The door-open test. Run the dryer for five minutes with the laundry room door open, then run it again for five minutes with the door closed. If drying performance drops noticeably with the door closed, the room isn’t getting enough makeup air, which often points to a vent that’s already partially blocked and can’t pull air through efficiently. This is especially common in Los Angeles homes where washers and dryers sit in closets or small utility rooms with louvered doors that get painted shut over time.
- The lint screen test. Clean the lint screen, then dry a full load. If the screen comes out with a thick, felted layer of lint after just one load, the dryer is generating lint faster than it’s being expelled, which is a classic sign of vent restriction. A dryer with a clear vent path will leave a normal, light accumulation on the screen, not a compressed mat.
- The cycle-duration test. Time one full dry cycle on a normal load. If it’s taking more than 50 minutes to dry a standard load of towels or jeans, and your dryer is less than eight years old, the odds are high that the vent is the bottleneck. Modern dryers in good working order should finish most loads in 40 to 50 minutes. When a vent is restricted, cycle time creeps up slowly over months, which is why so many homeowners don’t notice until it hits the two-cycle mark.
- The exterior airflow test. Go outside while the dryer is running and hold your hand near the exterior vent cap. You should feel a steady, warm, humid push of air. If the airflow is weak, intermittent, or absent, the vent is restricted somewhere along its run. This is the single most reliable home test, and it costs nothing to perform.
If you run through these four tests and three or more of them suggest a vent problem, the smart move is to book a vent cleaning before calling an appliance repair technician. In our experience cleaning dryer vents across Los Angeles, we’ve seen homeowners spend $200 to $400 on thermal fuse replacements and heating element repairs when the actual issue was a vent packed with lint from the dryer to the exterior wall.
Vent Restriction Symptoms at a Glance
- Clothes take two or more cycles to dry completely
- The dryer exterior gets hot to the touch during a cycle
- The laundry room feels warm and humid while the dryer runs
- The dryer shuts off mid-cycle, then works again after cooling down
- A burning smell during operation
- Lint accumulating around the dryer or on the floor behind it
- The exterior vent flap doesn’t open fully during a cycle
- Visible lint or debris around the exterior vent cap
The shut-off symptom deserves special attention. When a dryer’s internal thermostat senses that exhaust air isn’t leaving, it trips a safety cutoff to prevent overheating. This is not a sign that the thermostat is broken. It’s a sign that the thermostat is doing its job under conditions it was never designed to handle. Replace the thermostat without clearing the vent, and you’ll be replacing it again in a matter of months.
Musty Clothes vs. Burned Smell: Two Completely Different Problems
Homeowners in Los Angeles describe two distinct dryer smells, and they are not the same problem. Knowing which one you’re dealing with can save you from chasing the wrong repair.
A musty or sour smell on dried clothes means moisture is not evacuating the dryer. The clothes come out dry to the touch but carry a stale, damp odor that gets worse when the clothes sit in a drawer. This happens when the vent path is partially restricted or damaged in a way that allows moisture to linger inside the dryer drum or the duct run. The clothes are technically dry, but they were dried in damp, stale air, and that odor absorbs into the fabric. The fix is almost always a vent cleaning. In Los Angeles, where laundry rooms are often tucked into interior closets with long vent runs to the exterior, moisture lingers longer when the vent is even slightly restricted, making this a far more common complaint than it is in homes with short, direct vent paths.
A burned or acrid smell during a cycle is a different and more urgent signal. It means lint has accumulated somewhere in the vent path and is being heated to the point of smoldering. Lint is highly flammable, and a dryer vent packed with it is one of the leading causes of house fires in the United States. If you smell burning while the dryer runs, turn the dryer off, unplug it if you can reach the cord safely, and do not run another cycle until the vent has been inspected and cleaned. This is not a home-repair situation you want to experiment with. The burned smell typically originates where the vent passes through a wall or floor cavity, where the heat of the exhaust air has dried the accumulated lint to a paper-thin, combustible layer that can ignite with the next long cycle.
So the rule is simple: musty means moisture, burned means heat. Musty says clean the vent. Burned says clean the vent immediately, and do not run the dryer again until it’s done. Both smells point to the same root cause, but the burned smell changes the timeline from “schedule a cleaning this month” to “turn it off today.”
The Back Pressure Test: Checking Airflow Without Tools
Before you call anyone, there’s a quick diagnostic you can run at the exterior vent cap with nothing more than a damp tissue. This is what we call the back pressure test, and it gives you a rough sense of whether your vent is moving air the way it should.
Here’s how it works. Turn the dryer on and let it run for about three minutes so the exhaust air is warm and flowing. Walk outside to the exterior vent cap and hold a damp tissue about six inches from the opening. A healthy vent path will push enough air to make the tissue flutter noticeably and continuously. A restricted vent will make the tissue barely move, or move only in weak pulses. If the tissue doesn’t move at all, or if it gets sucked toward the vent cap rather than pushed away, you have a significant blockage somewhere in the run.
This test does not tell you where the blockage is, and it does not tell you how much lint has accumulated. What it gives you is a baseline: is the system moving air or isn’t it. If it isn’t, the next step is either a professional cleaning or, if the cleaning reveals a structural problem in the duct, a vent repair or replacement. Many Los Angeles homes have vent runs that travel through attics, crawlspaces, or interior wall cavities, and a back pressure failure on one of these runs often indicates a disconnection or a crushed section inside a space you cannot see.
One caveat: this test works best during the dry season. During Santa Ana wind events or unusually humid coastal days, the exterior airflow can be masked by outdoor conditions. But as a first-pass screening tool, the damp tissue gives you a fast, honest read on whether the vent is doing its job at all.
Finding and Assessing Your Exterior Vent Cap
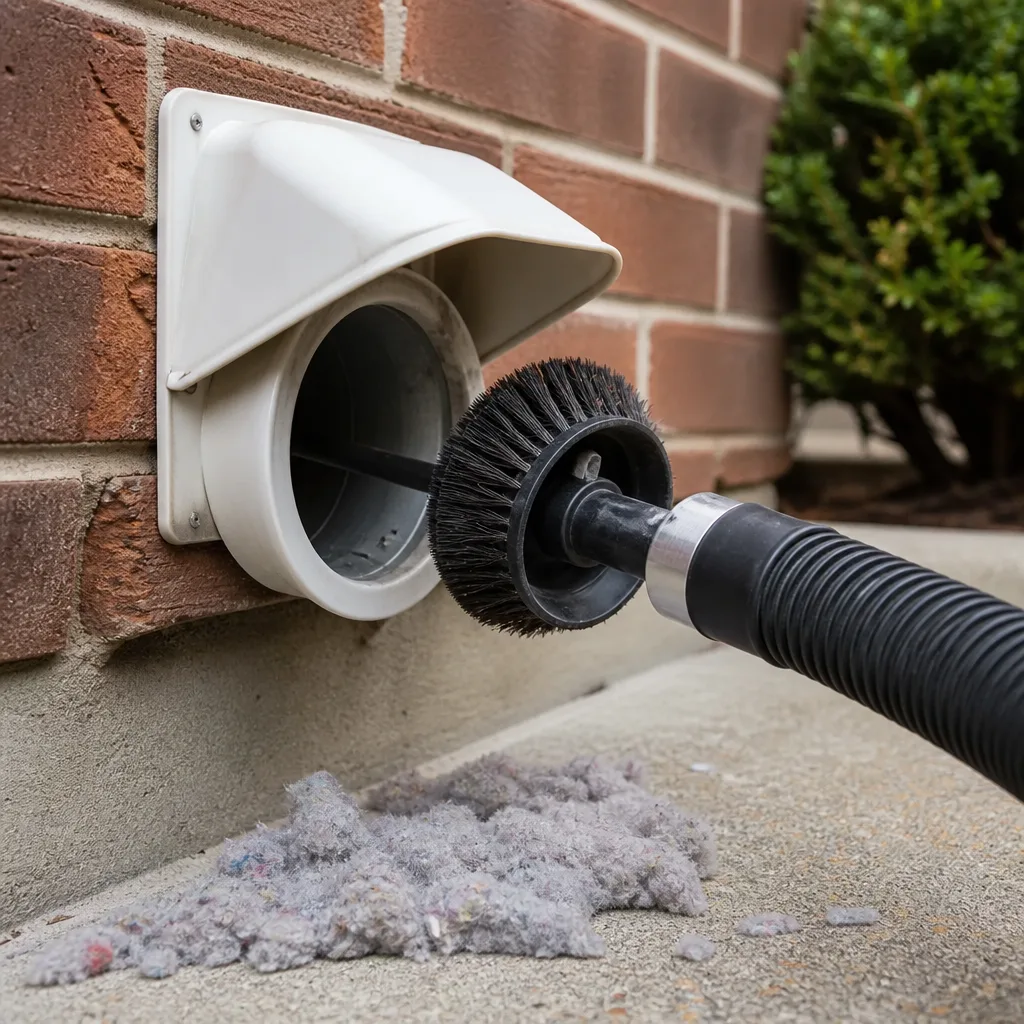
Most blockages don’t start inside the dryer vent pipe. They terminate at the exterior cap, where the duct exits the wall or roof of your home. And in Los Angeles, that exterior cap is where we find the majority of bird nests, rodent debris, and failed flapper mechanisms.
Start by locating the cap. Walk the exterior of your home and look for a small rectangular or round fitting, usually four inches across, with slots or a flap covering the opening. On many Los Angeles homes, especially those built in the 1960s through the 1980s, the dryer vent exits through a side wall near the laundry room. On newer construction and two-story homes, it often terminates on the roof, which means you’ll need to look from the street with binoculars or schedule a professional inspection if you’re not comfortable on a ladder.
Once you’ve found the cap, assess three things:
- The flapper. The hinged cover over the opening should open outward when the dryer runs and close fully when it’s off. If the flapper is stuck open, birds and rodents can enter the duct and build nests. If it’s stuck closed, the vent is blocked off entirely, which creates back pressure that forces lint to accumulate inside the duct run.
- The screen or louvers. Some vent caps have built-in screens or narrow louvers, and these are notorious lint traps. Lint accumulates on the screen from the inside and blocks the airflow within months, even with a clean duct behind it. If your cap has a screen, you should plan on cleaning it or replacing the cap with a screenless model. This is one of the most common causes of the “I just had my vent cleaned and it’s already blocked again” complaint we hear in Los Angeles.
- Nesting material. Look for straw, twigs, or a pile of lint at the opening. Birds, particularly house sparrows and starlings, love the warm, protected space inside an unguarded dryer vent. A nest that fills half the duct run can cut airflow to nearly zero and creates a serious fire hazard when the nest material dries out next to a hot exhaust stream.
If the cap is damaged, missing, or blocked with nesting material, a vent cleaning alone may not solve the problem. The cap may need to be replaced, and in some cases the vent duct itself will need to be pulled and replaced if the nest extends deep into the run. This is also the moment when the brand of the cleaning you hire actually matters. A technician with professional-grade equipment, such as a Rotobrush rotary brush system that agitates the duct walls to dislodge debris, or a Nikro negative-pressure unit that pulls contaminants out of the run rather than blowing them into the living space, will clear the entire duct path, not just the first few feet visible from the exterior.
What a Vent Cleaning Cannot Fix
A professional dryer vent cleaning removes lint, debris, and obstructions from the interior of the duct run. It does not repair a vent path that is structurally compromised. Here is where homeowners need to understand the difference, because booking a cleaning when the real problem is a damaged duct will leave you frustrated and right back where you started.
A vent cleaning cannot fix a crushed section of duct inside a wall. Flexible foil or thin-gauge aluminum duct can be crushed during a remodel, when furniture is pushed against a laundry room wall, or by repeated air pressure cycles over years. A crushed duct restricts airflow in the same way a lint blockage does, but no amount of brushing or vacuuming will restore it. The fix is opening the wall or ceiling to replace the damaged section.
A vent cleaning cannot fix a disconnected joint. Dryer vent duct is assembled in sections, and those sections are joined with metal tape or clamps. Over time, especially in Los Angeles homes that experience the expansion and contraction of seasonal temperature swings, those joints can separate. When a joint pops loose in a ceiling void or an attic, the exhaust air, along with all the moisture and lint it carries, dumps into an enclosed space. You’ll notice the symptoms almost immediately: a warm, humid room, lint accumulating in unexpected places, and clothes that stop drying. A cleaning will clear the duct, but unless the joint is reconnected and sealed, the vent will fill that void space again within weeks.
A vent cleaning cannot fix an improperly routed duct. Some Los Angeles homes have vent runs that sag, dip, or make unnecessary turns, especially in older houses where the dryer was relocated at some point. Every dip in the duct is a place where lint settles. Every unnecessary 90-degree turn reduces airflow. A cleaning will remove the lint that’s there today, but the design flaw remains, and the lint will accumulate again faster than it should. Fixing this properly means rerouting the duct, which is a duct work repair, not a cleaning.
So before you book a cleaning, ask yourself whether the vent was working at some point and stopped, or whether it has never worked well. A vent that worked for years and slowly declined is almost always lint accumulation, and a cleaning resolves it. A vent that has always been slow, or that fails immediately after a cleaning, points to a structural problem in the duct path itself. A good cleaning technician will tell you which situation you’re in, and will be honest about when a cleaning won’t be enough. That honesty is part of why we put the Kestrel Air Duct Cleaning home standard into practice on every job in Los Angeles: the written price, the defined arrival window, and the 365-Day Done Right Promise in writing mean there’s no incentive to oversell a cleaning when a repair is the honest answer.
Los Angeles Specifics: Climate, Code, and Common Issues
Dryer vent problems are not the same in every market, and Los Angeles has a few characteristics that shape how vents fail here and what homeowners should watch for.
Climate. Los Angeles is dry for most of the year, and that matters in a counterintuitive way. In humid climates, lint stays soft and clumpy and tends to stick to the duct walls near the dryer. In dry air, lint dries to a papery, lightweight film that carries further down the duct before it settles. That means Los Angeles vents often accumulate lint deeper in the run, in the middle and towards the exterior cap, rather than near the dryer connection. A cleaning that only addresses the first few feet of the duct will miss most of the problem here, which is why a full-length agitation and extraction cleaning matters more in LA than in, say, New Orleans.
Construction patterns. Most single-family homes in Los Angeles were built between 1945 and 1985, and a significant number of those have interior laundry rooms with long vent runs that travel through walls, floors, or attics to reach the exterior. Long runs mean more surface area for lint to settle on, more joints that can separate, and more turns that slow the exhaust air. The standard recommendation from the dryer manufacturers is a maximum vent run of 35 feet, with each 90-degree turn counting as five feet. Plenty of Los Angeles homes exceed that when you account for the turns.
Code requirements. California building code requires dryer vents to terminate outside the building, to be made of rigid metal duct, and to be equipped with a backdraft damper at the exterior termination. Flexible foil duct, the white plastic stuff you see in old installations, is no longer permitted for new work, but plenty of older Los Angeles homes still have it, and it’s a lint trap by design. It’s also flammable, which is why the code changed. If your vent run is foil or plastic, replacing it with rigid metal is one of the most cost-effective safety upgrades you can make.
Roof terminations. A higher percentage of Los Angeles homes terminate dryer vents through the roof than in most other parts of the country, partly because of the high number of two-story houses and partly because of the way many laundry rooms are positioned in interior spaces. Roof terminations are harder to inspect, harder to clean from the exterior, and more likely to be ignored for years at a time. If your vent terminates on the roof and you cannot remember the last time it was cleaned, the odds are high that it’s overdue.
What a Professional Cleaning Actually Involves
This is where the equipment matters, and where you see the difference between a real vent cleaning and a box-store shop vac run up the duct from the outside. A proper cleaning involves two coordinated actions. A rotary brush system is fed through the duct run to agitate and dislodge lint from the duct walls, because lint doesn’t just sit loose in the center of the pipe; it adheres to the walls and builds up in layers. At the same time, a negative-pressure extraction unit pulls the dislodged debris out of the run and captures it, so it doesn’t blow back into the laundry room or the yard. The best units, including the ones we run on our Los Angeles jobs with Abatement Technologies HEPA filtration, keep the loosened particles out of the living space entirely. This is a different process from pushing air through a vent and calling it clean, which is why the results last longer. For How Long Does Air Duct Cleaning Take? Timelines and What to Expect, timing varies by run length.
If you’re weighing whether to clean the vent yourself or hire it out, the honest answer is that the professional option pays for itself in one or two appliance repair calls avoided. Dryer Vent Cleaning in Los Angeles typically runs between $120 and $250 for a standard residential vent, depending on the length of the run, the number of turns, and the accessibility. That’s the price of one diagnostic visit from an appliance technician. When you put it in those terms, the vent cleaning isn’t an extra expense. It’s the cheaper alternative to a repair call that may not even fix the actual problem.
Common Mistakes to Avoid
- Replacing the thermal fuse before checking the vent. The thermal fuse is a safety device that blows when the dryer overheats. It’s usually the symptom, not the cause. If you replace the fuse without clearing the vent, the new fuse will blow again within months, and you’ll be out the cost of a part and labor that could have gone toward the actual fix.
- Using a leaf blower to clear the vent from the inside. This is a popular DIY trick, and it’s a bad one. A leaf blower pushes air into the duct at high volume but low pressure, which compacts lint against the duct walls instead of removing it. You’ll feel like you accomplished something, and the restriction will still be there.
- Ignoring a damaged exterior vent flap. The flap is not decorative. It’s the backdraft damper that keeps outside air, birds, and rodents from entering the duct when the dryer is off. A missing or stuck-open flap invites everything from lint-choked screens to live bird nests into your vent run.
- Assuming a short vent run doesn’t need cleaning. Even a five-foot run accumulates lint, especially where the duct connects to the dryer and where it exits the wall. Short runs clog faster than long ones at the connection points, not slower.
- Running the dryer while the exterior cap is visibly blocked. If you can see lint, a bird nest, or a stuck flap at the exterior cap, running the dryer is actively building up heat and back pressure inside the duct. This is how smoldering starts.
- Accepting a per-vent price for a whole-system job. Dryer vent cleaning is priced by the job, not by the vent. A company that quotes a low per-vent price and then walks the duct to count vents is setting you up for a door-step revision. At Kestrel, the written price for the entire vent system is in your hands before any work begins, and that price does not change when the technician arrives.
- Calling an appliance repair company first. The single most expensive mistake on this list. A $150 vent cleaning from the Air Duct Cleaning in Los Angeles side of the business would have solved the problem before the $150 diagnosis fee and the $200-plus repair bill ever happened.
When to Call a Professional
Call a professional when any of these conditions apply: your vent run is longer than 15 feet or includes more than two turns, your exterior cap is on a roof or unreachable without a ladder, the burned smell appears during operation, your home has an older foil or plastic vent duct, or your vent has not been cleaned in more than two years. A professional cleaning, using rotary brush agitation paired with negative-air extraction, will clear the full duct run and confirm that the vent path itself is sound. Kestrel Air Duct Cleaning offers free estimates in Los Angeles, and every job operates under the Kingswell Guarantee: a written price before work begins, a defined arrival window, a clean job site, and a written 365-Day Done Right Promise. Call (469) 972-3151 to schedule a dryer vent cleaning or to ask a question about your specific vent setup.
Frequently Asked Questions
Most residential dryer vent cleanings in Los Angeles run between $120 and $250, depending on the length of the run, the number of turns, and whether the exterior cap is accessible from the ground. Kestrel Air Duct Cleaning provides a written price before any work begins, so the number you’re quoted is the number you pay. Call (469) 972-3151 for a free estimate on your specific vent configuration.
For most Los Angeles homes, once per year is the right interval, especially if the vent run is long, terminates on the roof, or serves a household that does five or more loads of laundry per week. Homes with short, direct vent runs and light laundry use can often go two years between cleanings. The safest schedule is annual, because the cost of a cleaning is less than the cost of a single appliance repair call that didn’t need to happen.
When a dryer takes two cycles to dry a normal load, the most common cause is restricted airflow through the vent, which traps moisture in the drum. Run the four tests in this guide, and if three or more point to the vent, book a cleaning. If a vent cleaning doesn’t resolve the two-cycle problem, the issue may be in the dryer itself, but the vent is the right place to start because it’s the cheapest fix and the most common cause.
You can remove the lint screen and clean the first few feet of accessible duct from the inside, and you can clear debris from the exterior cap. But a full-length cleaning of a duct run that travels through a wall, floor, or attic requires professional equipment, including a rotary brush and a negative-pressure extraction unit. Homemade solutions, especially leaf blowers and shop vacs, do not remove the adhered lint layer, and they give a false sense of security. If you’re going to do the job, do the whole job.
Ask to see the debris. A real cleaning produces a substantial pile of lint, sometimes enough to fill a small trash bag. Professional companies document the job with before-and-after photos of the duct interior where the run is accessible, and the exterior airflow should be noticeably stronger after the cleaning. If the technician can’t show you any removed lint and the airflow at the exterior cap doesn’t feel different, the vent wasn’t cleaned, and you should refuse to pay until it is.
A bird or a nest in a dryer vent is a fire hazard, because the nest material dries out in the warm exhaust air and can ignite after repeated heating cycles. It’s also a sanitation problem, because nesting material traps lint, which restricts airflow, which raises the dryer’s internal temperature. Do not run the dryer until the nest is removed and the cap is replaced or repaired. Call (469) 972-3151 for a professional inspection in Los Angeles.
The Bottom Line
The pattern repeats so often it’s predictable: clothes stop drying, an appliance technician diagnoses a failed part, and a vent cleaning would have solved the problem for half the cost. The vent is the cheapest part of the dryer system, and it’s the part most likely to be ignored. Run the four tests, try the back pressure check, and take an honest look at your exterior vent cap. See our more guides & resources for additional home maintenance tips. If any of the signs point to a restriction, book a cleaning before you book a repair. In Los Angeles, where long vent runs and roof terminations are common, an annual cleaning is the most cost-effective dryer maintenance you can do.
Written by Dale Whitmore, Owner at Kestrel Air Duct Cleaning, serving Los Angeles since 2004.